Increase productivity with OGP measuring systems
30.05.2024
Thanks to the latest manufacturing technologies used by experienced spring manufacturers, Adwin Spring Co. Ltd. is able to satisfy its very diverse clients, producing both small and large production series.
Traditional ways of measuring parts no longer fully met the speed and accuracy needs of increasing demands. The company quickly realized that some significant changes needed to be made.
This is when Adwin Spring discovered OGP, the world's leading manufacturer of multi-sensor metrology devices.

Will Hayes, Quality Manager at Adwin Spring said: “Before we purchased the OGP machine we used traditional measuring methods of Vernier calipers, micrometers and shadowgraphs.”
“With a lot of those methods you can get different people getting different readings that can be quite inaccurate.”
“We were looking for an alternative method because our customers were demanding more accurate results as well as different types of reports and feature sets to what we were traditionally using, as well as 3D measurements.”
“So we looked into different methods such as laser scanning and other non-contact companies, but found OGP UK to offer the best product.”
“We needed a non-contact form of measurement as a traditional CMM would move the springs instead of making a definite assessment.”
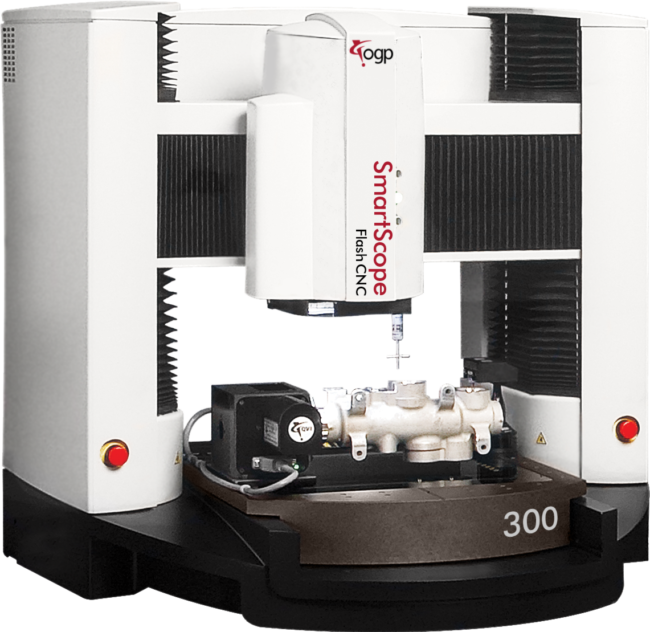
The OGP SmartScope® Flash™ 300, purchased by Adwin Spring with its intuitive and easy-to-use software, features advanced multi-sensor metrology functions. In addition, it uses a high-quality camera and enables a combination of touch probes, microprobes and laser scanners for measurement.
The measuring system is designed for use in the shop floor environment and in many other industrial applications for fast, accurate, reliable and automatic data acquisition, even for the most complex parts and components.
Working with accurate, real-time statistics allows for better control of the production process because problems can be identified and corrected immediately. Less error, minimal rework and increased productivity are just some of the benefits.
This makes OGP the metrology device of choice for manufacturers around the world.
Mr. Hayes said: “During the demo stage we realized that the OGP interface was more suited to our business as we produce a large range of parts, so set-up and program initialization needed to be much quicker than most other machines because of the vast array of products we’re making.”
“We started to see the benefits, I would say, within the first month. A lot of our parts, as we’re doing process inspection, were programmed up very quickly and then the machine runs the program in 30 seconds rather than the five minutes it took checking things on a shadowgraph.”